BAKING
GLUTEN FREE
GRAINS
Gluten Free Sourdough Bread
Theo20 February 20214 days3 comments
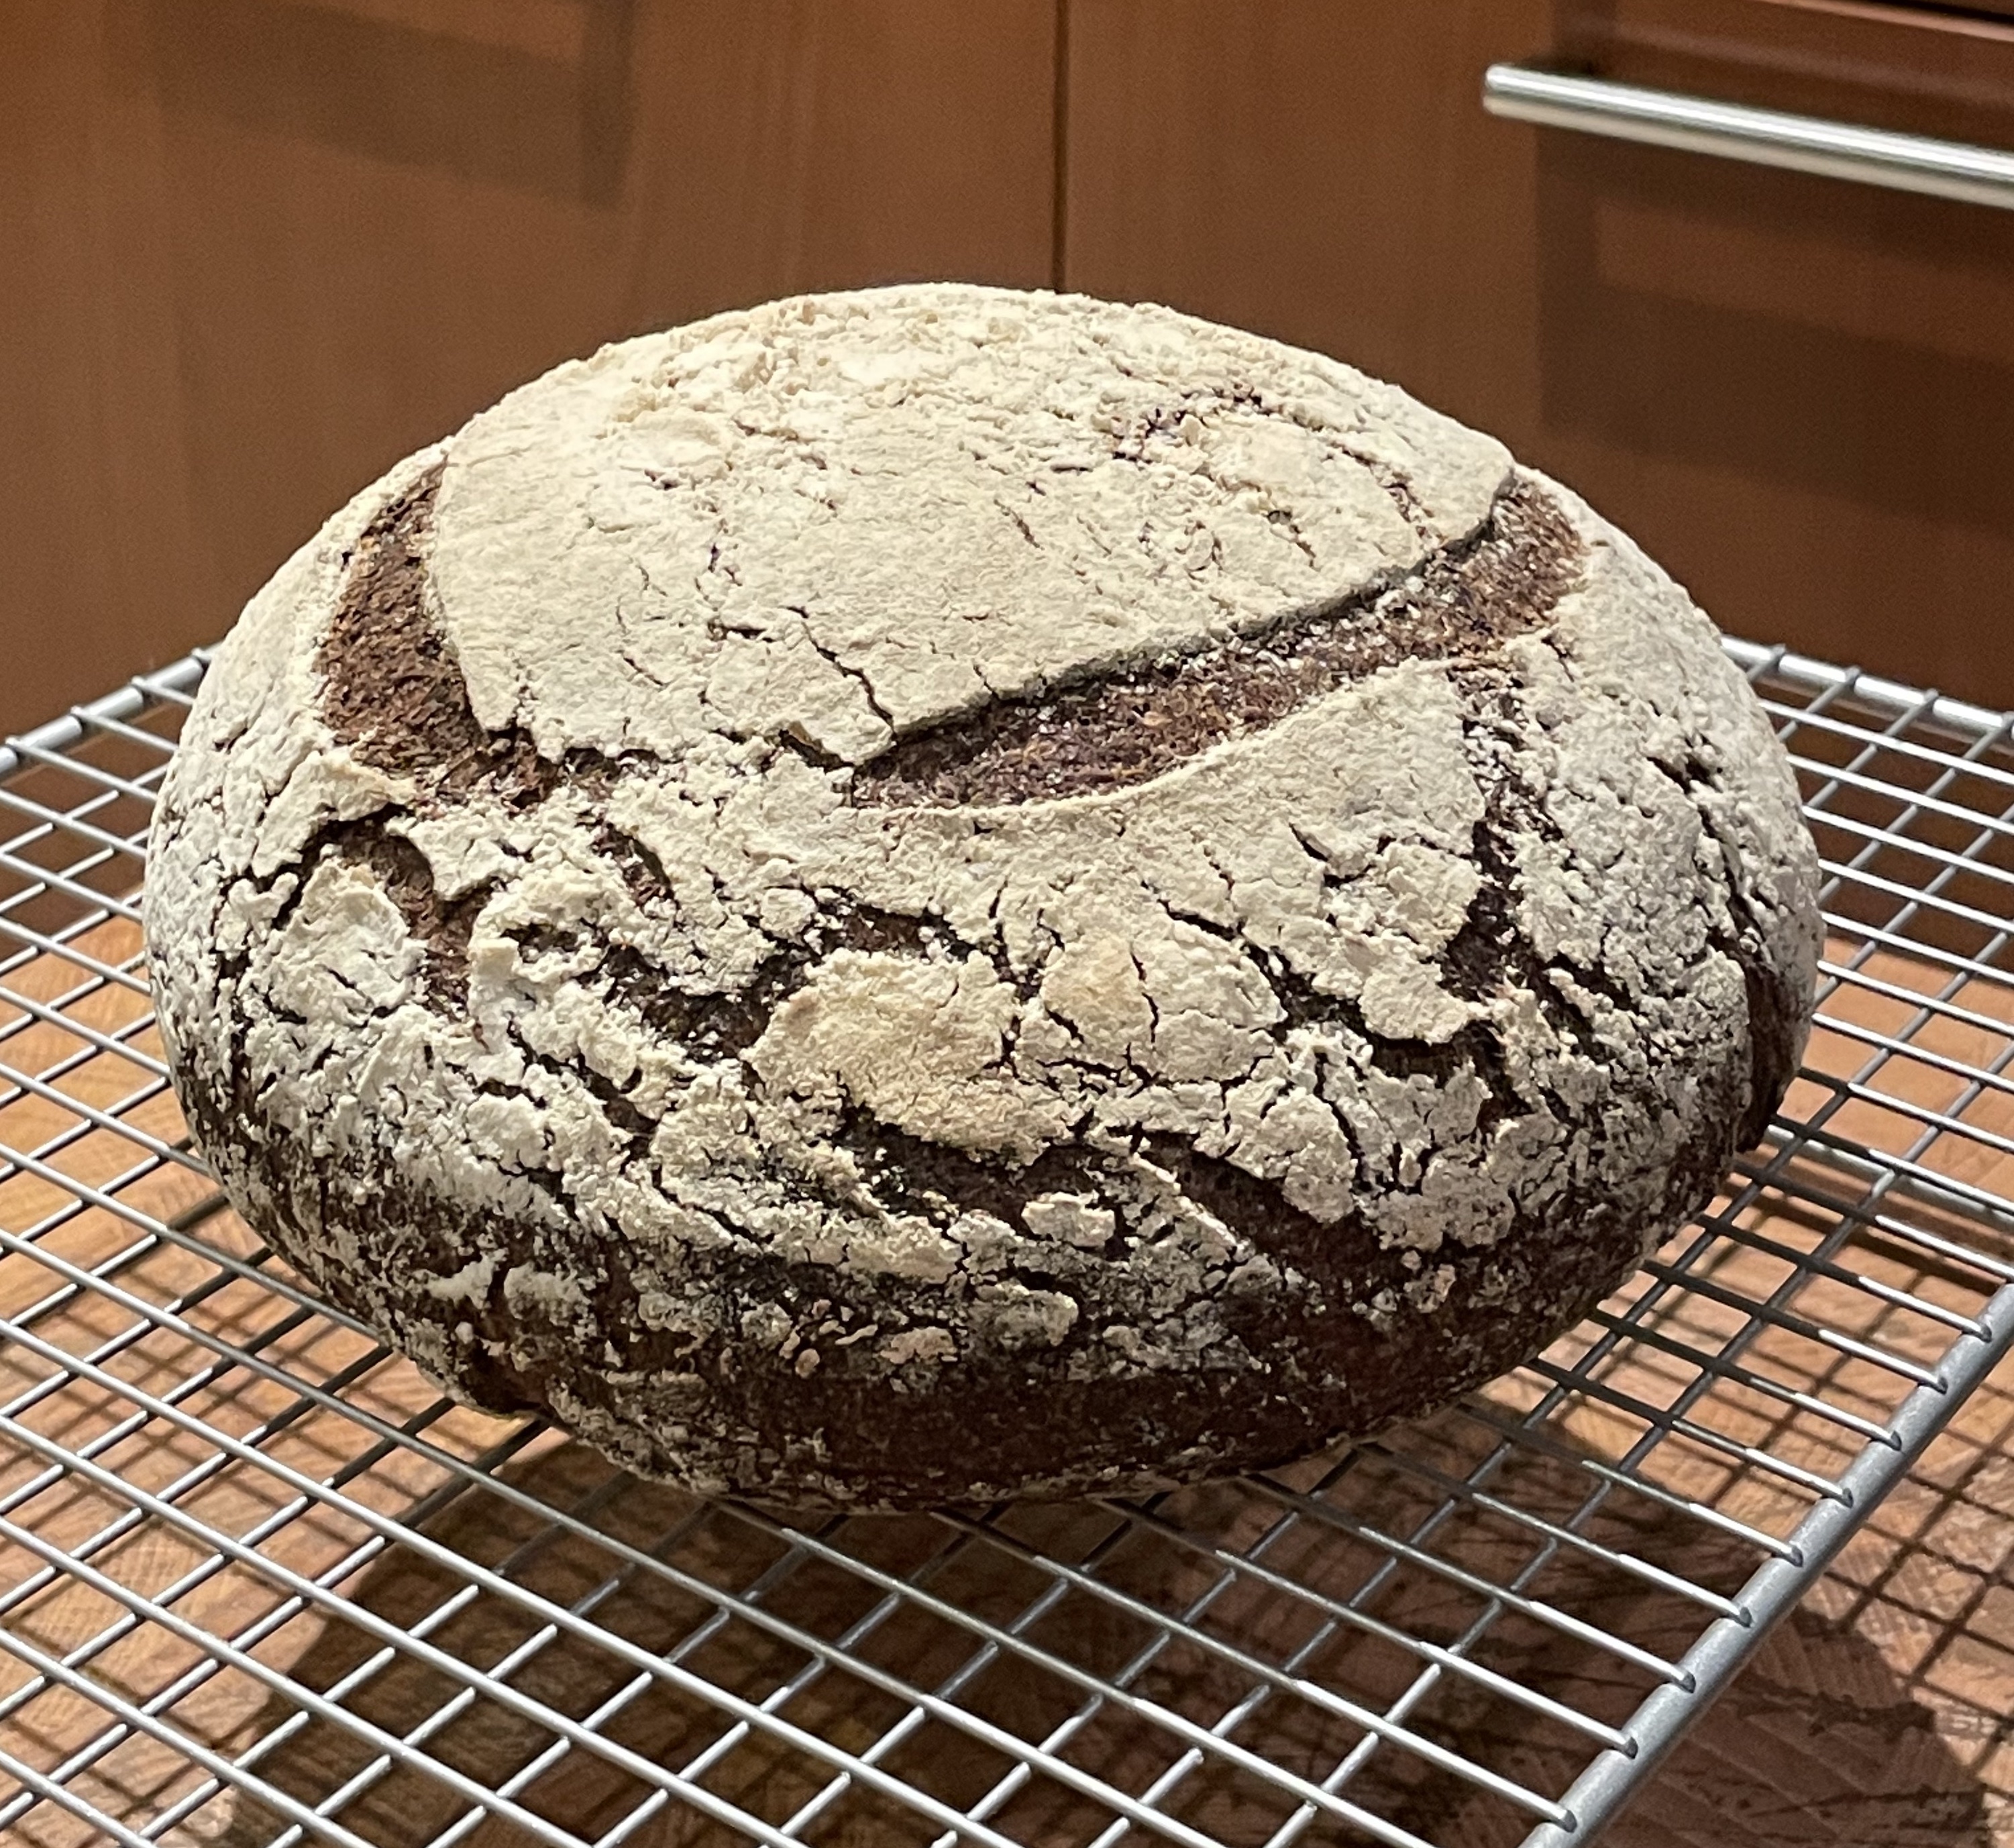
My project for Lockdown 3.0 was to master gluten free sourdough. I'd been baking since the first lockdown, but my husband could never eat any of it. Same principles as a wheat loaf, three differences that matter — and no pulling and folding at all.
Ingredients
AS WRITTEN
×1
×1.5
×2
ORIGINAL
GRAMS
OUNCES
STARTER · PER FEED
10 g
White rice flour
10 g
Teff flour
10 g
Quinoa flour
30 g
Water, boiled and cooled
THE LOAF
200 g
Active starter
600 g
Water
30 g
Psyllium husk
180 g
White rice flour
120 g
Teff flour
120 g
Sorghum flour
90 g
Tapioca starch
12 g
Fine sea salt
Weigh everything. Gluten free doughs are far less forgiving about hydration than wheat, and cups will let you down.
METHOD
DIAGRAM
At a glance
- Makes: 1 large loaf
- Active time: 40 minutes
- Start to loaf: 4 days
- Suits: gluten free, vegan
What you'll need
- A kitchen scale — non-negotiable
- A glass jar with a lid, weighed empty
- A loaf tin, 900g / 2lb
- A heavy lidded crockpot, if you'd rather a round loaf
- Baking parchment
Three things that differ from a wheat loaf
- You need more flours, and all of them gluten free — white rice, teff, quinoa, sorghum and tapioca, plus psyllium husk doing the job gluten used to.
- No pulling and folding. There's no gluten network to build, so you mix it and then you wait.
- Cleaning up is genuinely easy. Nothing clings to the bowl.
Starter
Like a wheat starter, this takes a few days — up to a week depending on your flours and how warm you keep it. Mix the three flours and the water in a glass jar and leave it somewhere warm. Feed and discard daily until you see bubbles.
After baking I keep the leftover starter in the fridge until I want to bake again: out on the morning of the day before, one feed, then a big feed at 17:30. Make sure you have enough to build the pre-ferment and keep some back — I aim for about 200g before baking so I'm never starting from scratch.
Tap water, boiled and cooled. Chlorine will slow a young starter down more than you'd think.
The loaf
Whisk the psyllium into the water first and let it gel for a couple of minutes — it will thicken into something like wallpaper paste, which is exactly right. Add the starter, then the flours and salt, and mix to a thick, spoonable batter rather than a kneadable dough.
- Mix — Scrape into an oiled tin, smooth the top wet-handed, cover.
- Prove — 4–6 hours at room temperature, or overnight in the fridge. It won't double — you're looking for a domed top and a few bubbles at the edge.
- Bake — 220°C for 45 minutes covered, then 20 minutes uncovered until it sounds hollow and reads 96°C inside.
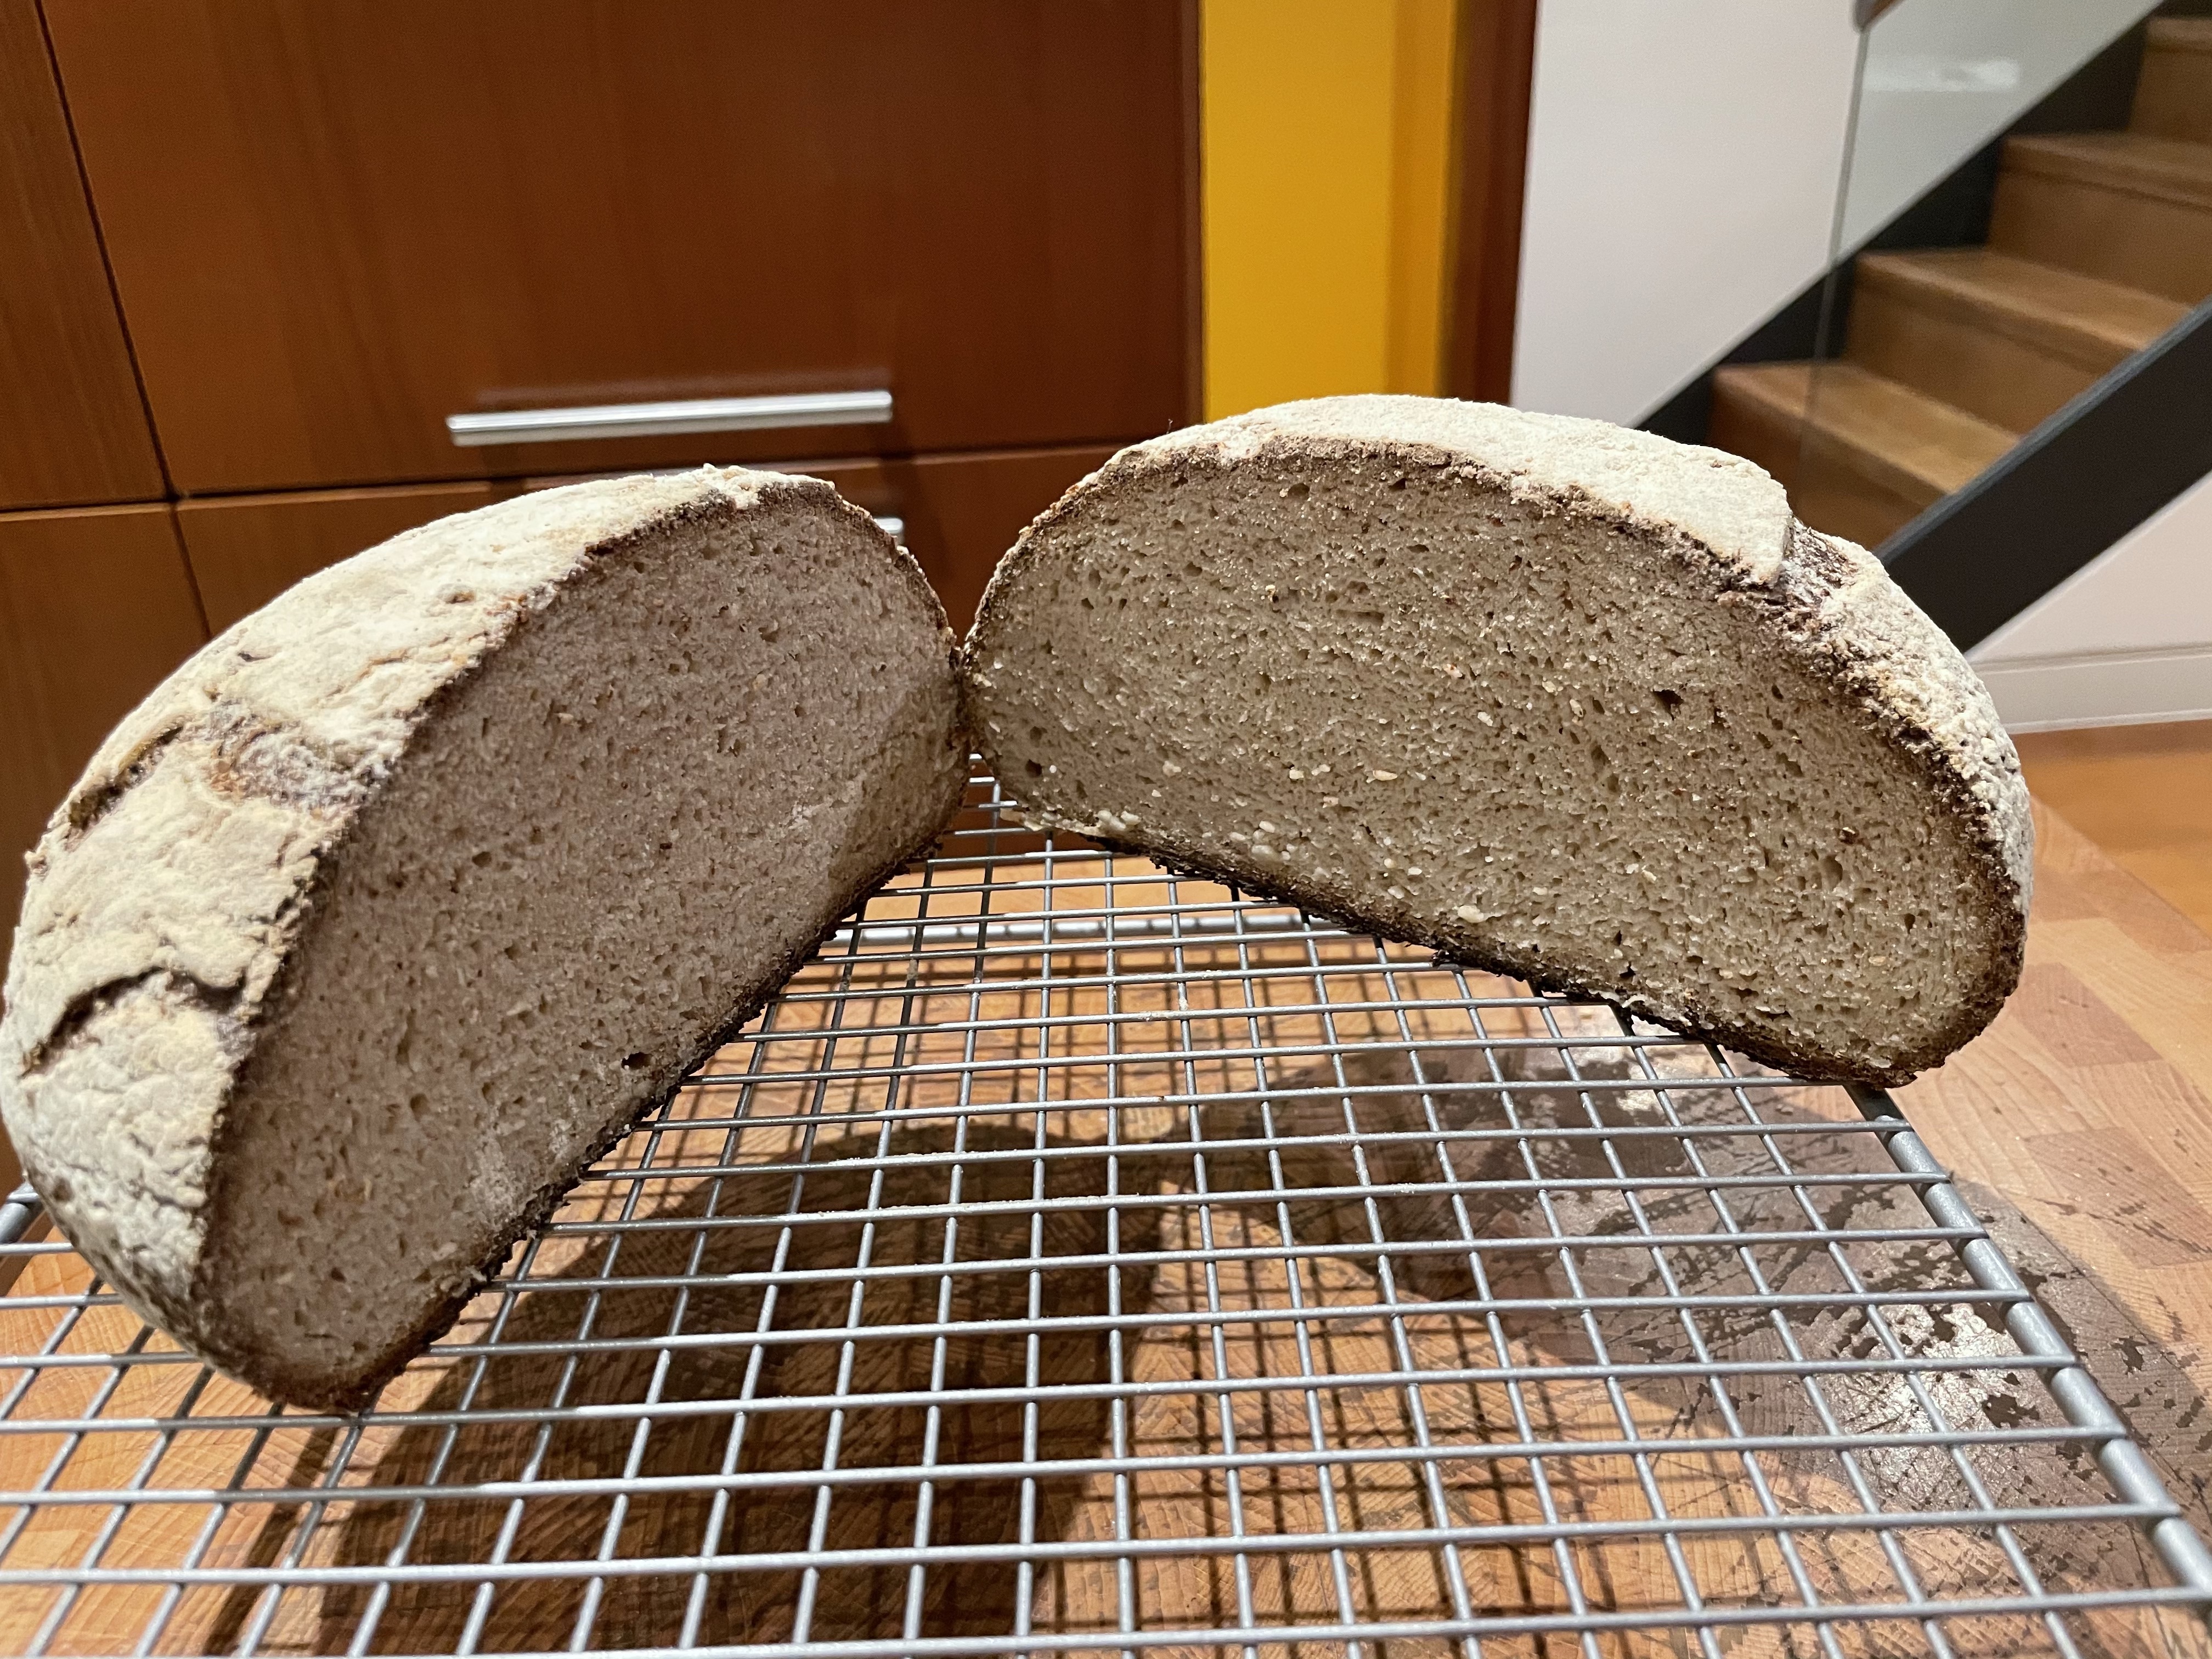
- Cool — At least four hours, fully. Cut it warm and the crumb will be gummy — this is the hardest instruction in the recipe.
Timeline
- Day 1 — Starter out of the fridge in the morning, let it warm, feed it. Feed again in the evening.
- Day 2 — Feed around midday. Build the pre-ferment in the evening.
- Day 3 — Mix the dough, prove, into the fridge overnight.
- Day 4 — Bake. Then wait, properly, before you cut it.
Where this came from
Built on the Guardian's gluten free sourdough guide and the original from georgeats, with quantities up by half for a bigger loaf.
3 comments
D
Dorothy's New Vintage Kitchen · 20 February 2021
Good to know!
T
Theo · 20 February 2021
It is actually really good! I eat it instead of normal sourdough and I'm not gluten intolerant! Much better than anything we have bought before.
D
Dorothy's New Vintage Kitchen · 20 February 2021
This looks pretty darn good for a sourdough loaf!
ADD YOURS
Shack Life Quarterly · Theo & Dave · London